Overview
- Create a new Storage bucket in Supabase
- Generate access keys (Access Key ID and Secret Access Key)
- Fetch your endpoint URL
- Add the Supabase Storage connection in pdf noodle
- Set it as your default storage
Step 1: Create a Storage Bucket
- In your Supabase dashboard, navigate to Storage.
- Click New bucket to create a new bucket.
-
Enter a bucket name (e.g.,
pdfnoodle-storage). -
Choose your privacy settings:
- Public: Files are accessible via public URLs
- Private: Files require authentication (recommended for PDFs)
- Click Create bucket to finish.

Hint: We recommend making the bucket private. pdf noodle will use signed
URLs to upload files securely.
Step 2: Generate Access Keys
- In your Supabase dashboard, go to Settings > API.
- Scroll down to the Storage section.
- Under S3 Access Keys, click Generate new key.
- Copy the Access Key ID and Secret Access Key — you won’t be able to see the secret again.

Step 3: Fetch Your Endpoint URL
- In your Supabase dashboard, go to Settings > API.
- Scroll to the Storage section.
-
Find the S3 Endpoint URL (it should look like:
https://[project-ref].supabase.co/storage/v1/s3). - Copy this endpoint URL — you’ll need it when configuring pdf noodle.

Note: The endpoint URL is specific to your Supabase project and includes
your project reference ID.
Step 4: Connect Your Bucket to pdf noodle

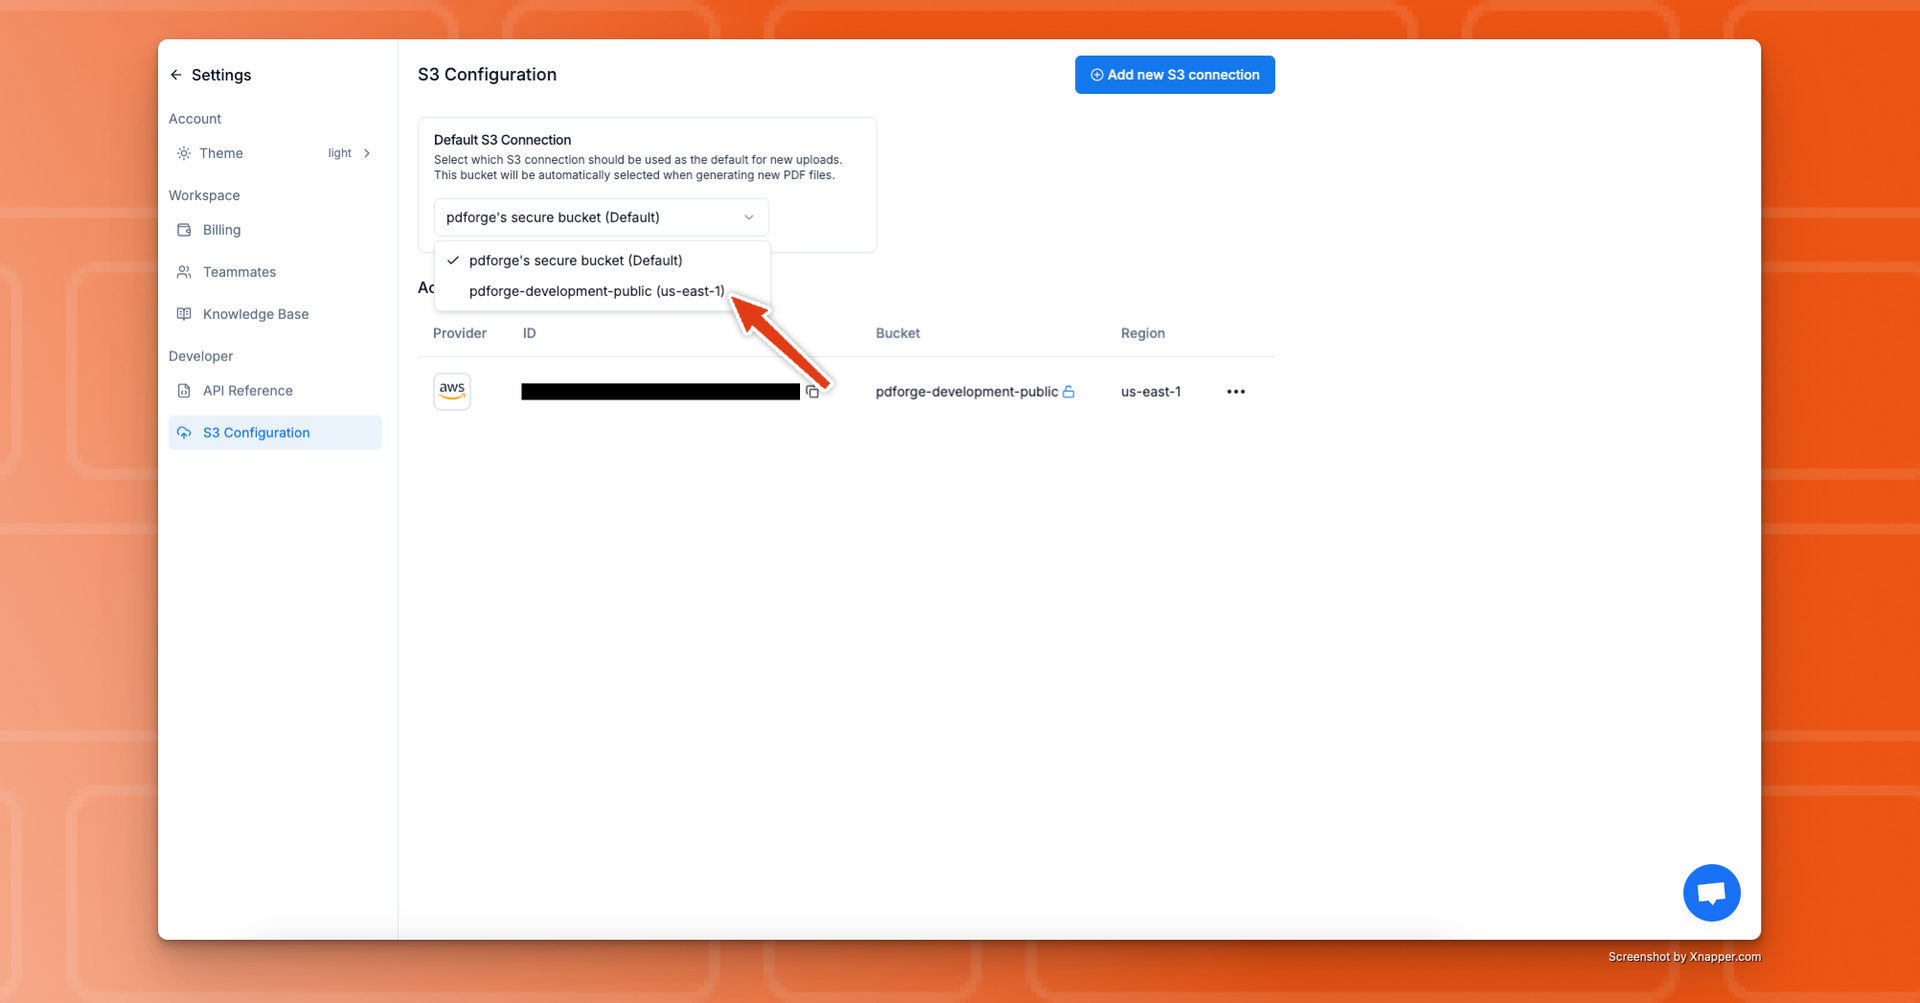
- In pdf noodle, go to Settings > S3 Configuration.
- Click Add S3 Connection, then enter:
- Provider: Supabase Storage
- Access Key and Secret Key (from Step 2)
- Bucket Name (the bucket you created in Step 1)
- Endpoint URL (from Step 3)
- Region: Leave as Auto (will be automatically detected)
- (Optional): Enable Upload access only if you don’t want pdf noodle to read from the bucket.

- Click Continue. If everything’s configured properly, you’ll see a success message.
pdfnoodle_test/delete_me_{date}.txt
Since we don’t have delete permissions, you’ll need to remove that file manually later.
Hint: If you see an error, double-check your credentials, bucket name, and
endpoint URL.
Step 5: Set as Default Storage