Configuring Amazon S3
This guide will walk you through connecting your own S3 bucket so pdf noodle can save renders directly to your storage. Setting up S3 buckets and IAM credentials can be a bit tricky, so we’ve broken the process down step-by-step:Overview
1. Create a new S3 bucket (private or public) 2. Create an IAM user 3. Create an IAM group 4. Add the user to the group 5. Attach a policy that allows uploads to your bucket 6. Generate access and secret keys 7. Add the S3 connection in pdf noodle 8. Set it as your default storageStep 1: Create an S3 Bucket
1. In your AWS console, go to the S3 service and click Create bucket. 2. Enter a bucket name and choose a region (e.g. us-east-1). 3. We recommend making the bucket private. pdf noodle will use signed URLs to upload files securely. 4. Click Create bucket to finish.Step 2: Create an IAM User
1. In the AWS console, go to IAM > Users and click Create user. 2. Name the user something like pdfnoodle-s3-user. 3. On the next step, choose Add user to group and click Create group. 4. Name the group something like pdfnoodle-uploaders. 5. Complete the user creation wizard.Step 3: Add Upload Permissions
1. Go to the group you just created. 2. Under the Permissions tab, click Add permissions > Create inline policy. 3. Switch to the JSON tab and paste the following policy: For pdf noodle to only have access to upload files:Hint: If you want this user to have access to all your buckets (not recommended), use: arn:aws:s3:::*/*.
- Click Review policy, name it (e.g. pdfnoodle-s3-policy), and save.
Step 4: Generate Access Keys
1. Go back to the IAM user you created. 2. Under the Security credentials tab, scroll to Access keys. 3. Click Create access key, selecting Third-party service as the use case. 4. Copy the Access Key ID and Secret Access Key — you won’t be able to see the secret again.Step 5: Connect Your Bucket to pdf noodle
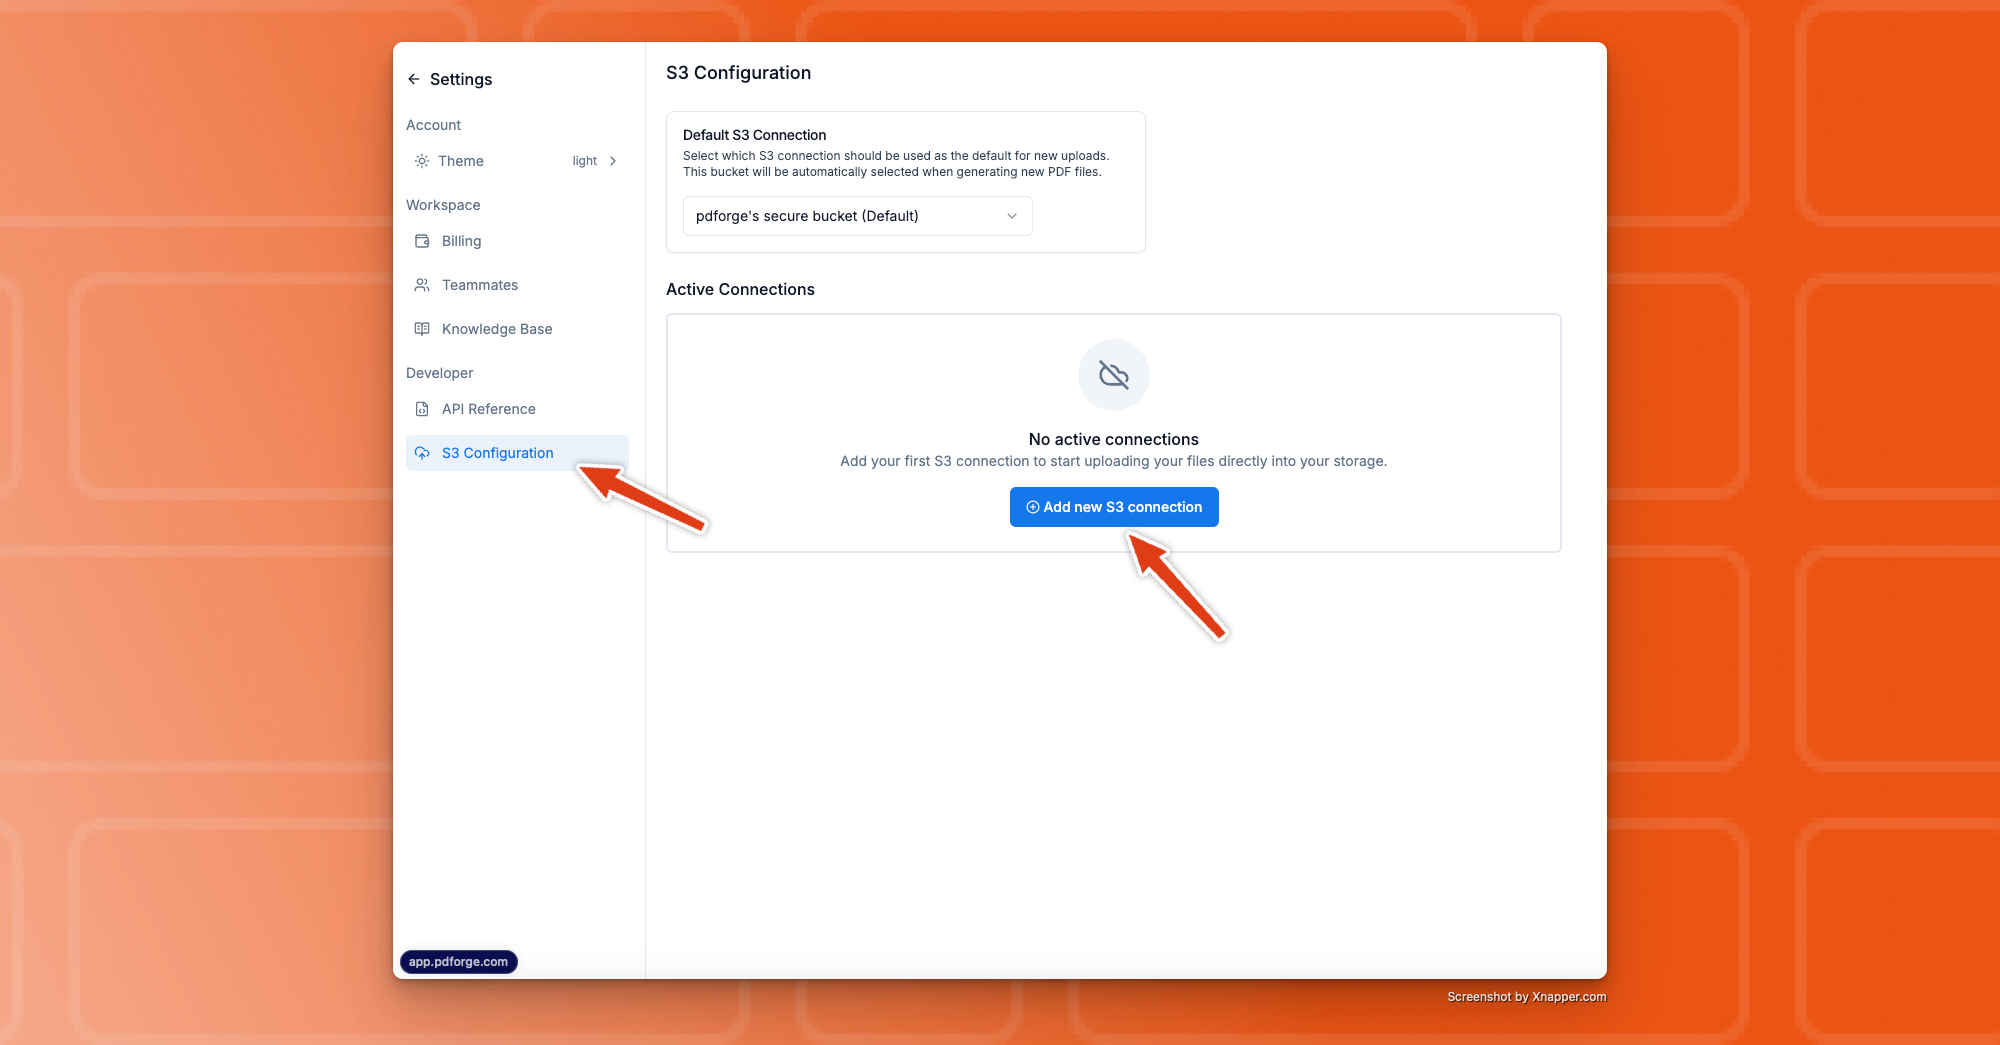 1. In pdf noodle, go to Settings > S3 Configuration.
2. Click Add S3 Connection, then enter:
1. In pdf noodle, go to Settings > S3 Configuration.
2. Click Add S3 Connection, then enter:
- Provider: AWS
- Access Key and Secret Key
- Bucket Name
- Bucket Region
- (Optional): Enable Upload access only if you don’t want pdf noodle to read from the bucket.
 3. Click Continue. If everything’s configured properly, you’ll see a success message.
pdf noodle will attempt to upload a test file to:
3. Click Continue. If everything’s configured properly, you’ll see a success message.
pdf noodle will attempt to upload a test file to:
pdfnoodle_test/delete_me_{date}.txt
Since we don’t have delete permissions, you’ll need to remove that file manually later.
Hint: If you see an error, double-check your credentials and bucket permissions.
Step 6: Set as Default Storage
 Go back to your S3 settings in pdf noodle and select your new connection as the default bucket. All future PDFs will now be saved there. 🎉